Thursday, 21 November 2013

Toddler Play - Spring In The Garden

Children love being outdoors and there's no better time for being in the garden than spring. Here in Melbourne it's been a cool spring, but the girls and I have still been busy outside. There are lots of simple ways to get children involved in the garden and all of them allow children to learn and get active.

One of the easiest things for the girls to do has been to help me spread straw, mulch, compost and fertiliser around the garden and in the chicken pen. Straw especially can be easily carried by little people and spread around. They don't have to be terribly neat about it and it's fun to throw around.


We have acquired some toddler-sized gardening tools since moving here - gloves, a trowel, fork and rake, a bucket and a small wheelbarrow. These work well because they're the right size. Gumboots are also essential garden attire. The girls have a space under the cedar which is their digging area. Miss 3 especially enjoys getting out with a toddler-sized spade and filling the bucket with dirt, whilst Miss 2.5 likes to transport the dirt from under the cedar around to the other beds
in the garden with her wheelbarrow.


Misses 2.5 and 3 enjoy planting things too. One of the first things that I had them plant here were pansies right along the front verandah. They were excited to dig the holes and "tickle the bottoms" of the seedlings as they came out of the punnets. Now we have a hedge of pansies and each day both girls announce proudly that they planted them and pick their favourite flowers, gifting them to various people who come over. And because they've practised on inexpensive hardy plants, they are now confident and capable about "tickling the bottoms" of other plants that we put in the garden.


I've found that watering the garden is one of the most popular activities. We only have two watering cans at them moment - a big one for me and a little one for the girls - and when visiting children are over there are battles over whose turn it is to water next.


Over the last few months, we have planted many vegetable and fruit seeds and seedlings. The girls have watched the little plants sprout and the fruit slowly ripen. They check to see if any strawberries are ripe each day and happily pick peas and herbs for dinner. It's interesting that Miss 2.5 is not particularly fond of green leafy vegetables at the moment, but she will wander up to plant pots and pick rocket or lettuce that she planted and munch away. We've got some sunflower seeds to plant today and I'm hoping that they will do well, because they will be interesting when they are big.


As we get more beds established, I'm looking forward to giving the girls their own bed to plant and seeing what they choose to grow. Hopefully they choose some good companion insect attracting plants, since they both love finding a caterpillar or ladybird and investigating it.

Explore more toddler art, cooking and play and preschooler art, cooking and play posts.

Friday, 15 November 2013

Pegs and Canvases

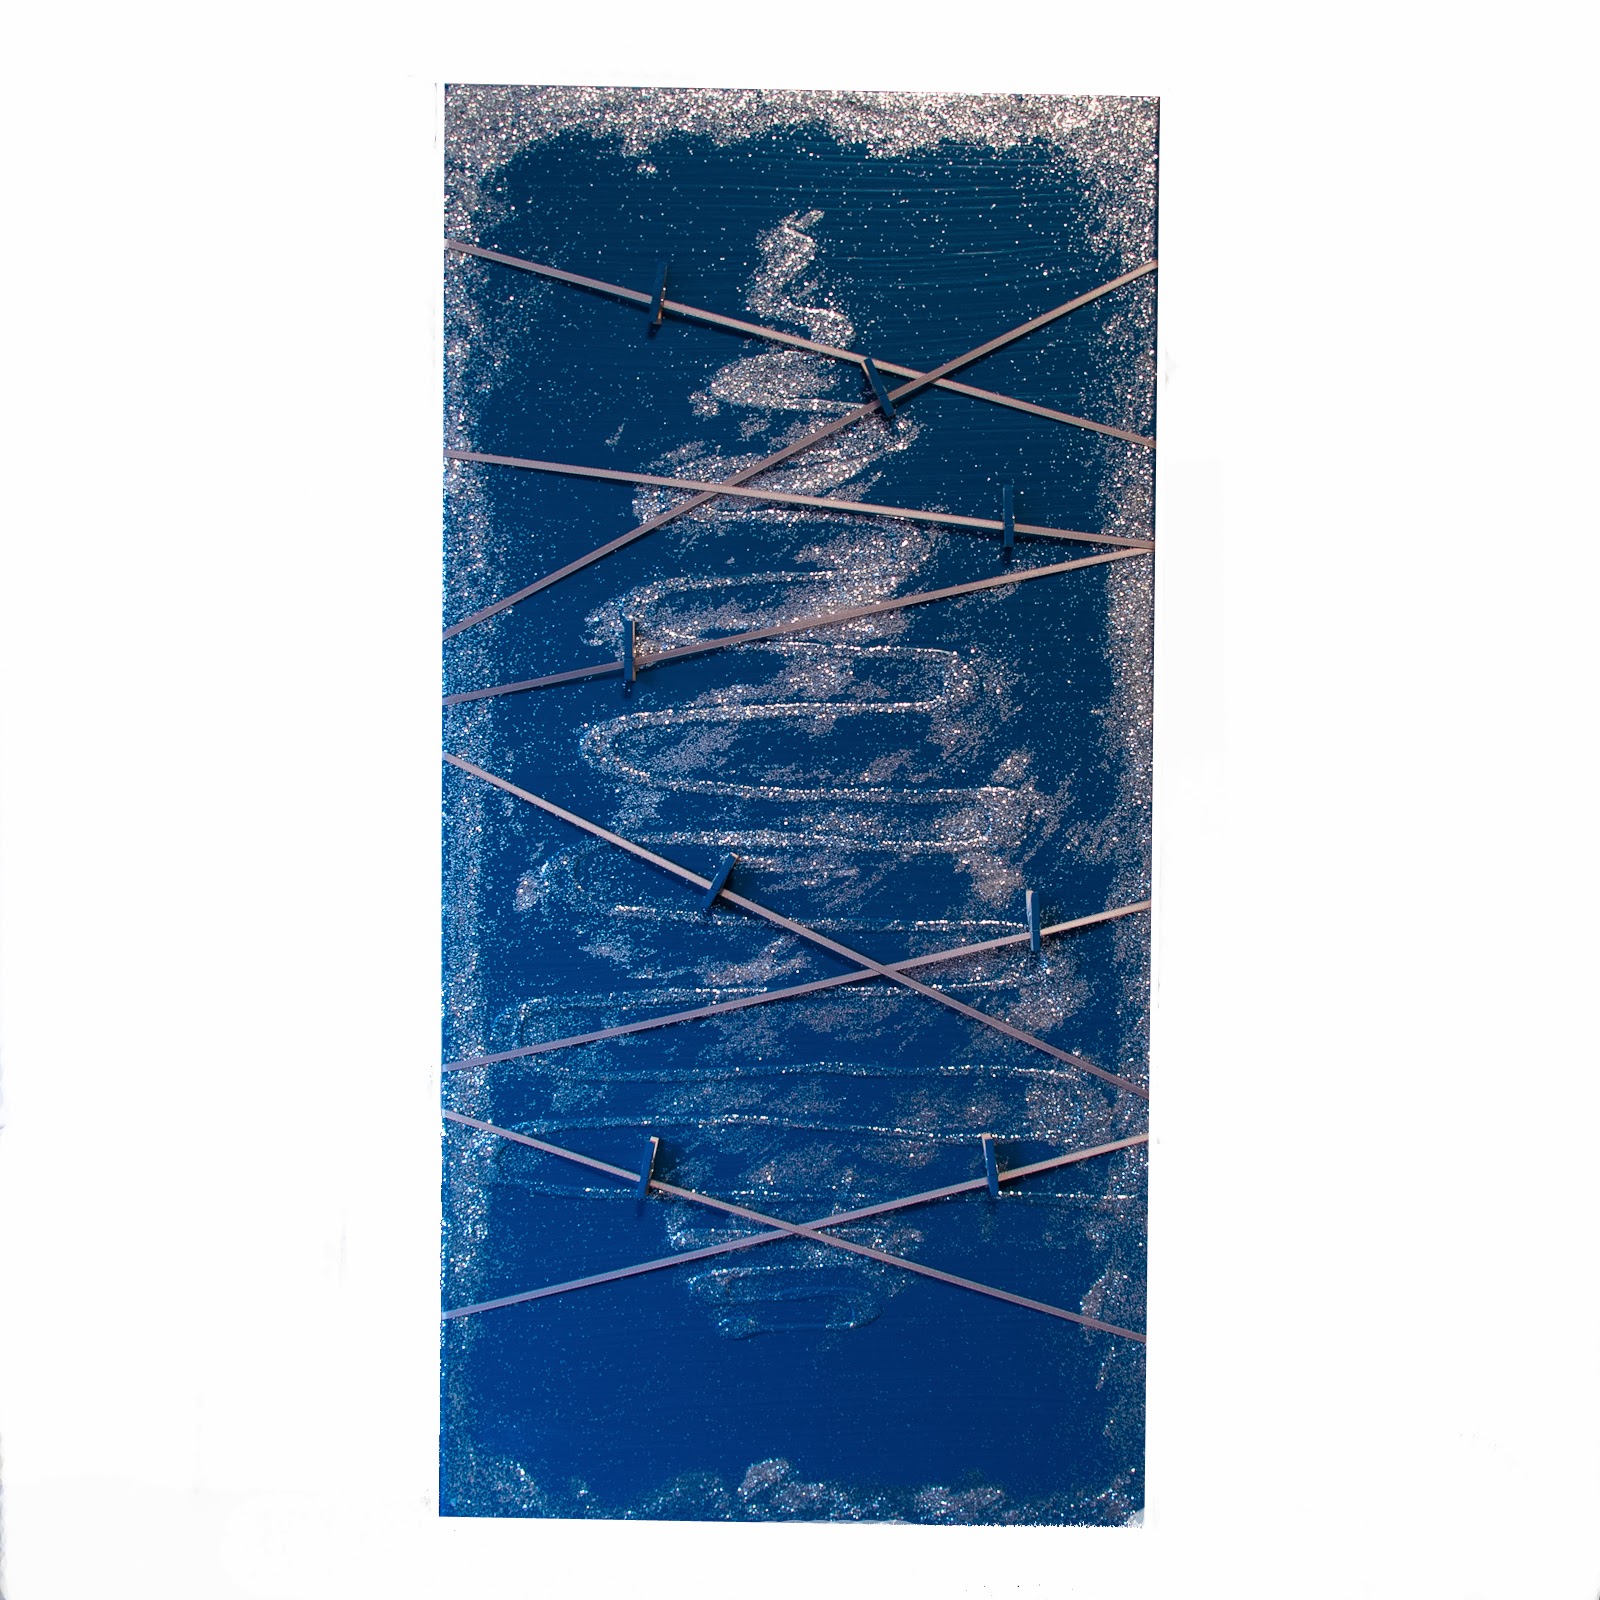
New to my Madeit and Etsy stores this week are separately listed miniature wooden pegs. These cute little guys are decorated with washi tape or handpainted and are great additions to notice boards, or for hanging on strings and using in other projects.


Also new in store are some new Christmas card display boards...


... along with a cute new kid's notice board.

Thursday, 14 November 2013

Toddler Art - Painting Together


Just a short one today.

Do things with your kids.

I know that they're going to get messy, and they might accidentally ruin what you're working on, and it's going to be harder for you to concentrate. But they're going to love doing whatever it is that you're doing. And you're going to love seeing the fantastic things that they can do. And you're both going to love spending time together. And it's going to be worth it.

Tuesday, 12 November 2013

Nougat

I have decided that I will make nougat this Christmas. But I only have one recipe for it in my cookbook collection, so I am trawling the Internet for variety. Here are some of my finds, lots of cherries and pistachios involved, but some more unusual recipes too.


Do you have some tried and true nougat recipes to contribute?

Friday, 8 November 2013

Materials and Techniques - 'Quirky Designs for Kids'

There are so many different ways to create. Each fortnight I chat with a different artist about the materials and techniques that they use when they are making their creations. This week, I am talking to Nat from the central coast of New South Wales. Nat is a fellow member of the Handmade Cooperative and sells her work in her store, Quirky Designs for Kids.
 

Please tell us a little about yourself. 

I am Natalie, mum of three crazy girls. When I am not chasing around after them, you will usually find me in the garage sawing or trying to complete an assignment on my quest to get back in to studying.


What materials and techniques do you like to use?


The majority of my names are cut from MDF, although I do like to change things up every now and then and use pine, as I love the raw timber look. Being on the coast, I am yet to source out a good wood supplier for craft. As it stands I get a lot of puzzled looks when I go to the local timber yard. 

All my work is hand drawn then hand cut using a variety of saws. I currently have four, with another on the way. The running joke in the house is that I own more tools then my husband.


What challenges have you faced in the creative process?

My main challenges come from the weather, as the majority of work needs to be done outside. If it’s hot my garage can get up to 50 degrees, not the best working conditions. The heat also affects painting meaning that a lot of re-sanding and re-painting happens when the paint has dried to fast. The other factor that sets me back is wind. Wind is my nightmare - all the names are glossed and hung up to dry and no matter when I gloss a name the wind always picks up, or a freak gust blows through the backyard and knocks a name over.

I do also find that I get distracted easily and go do something extreme around the house, like pulling up carpet, re-vamping a bit of furniture, or painting a wall. In the long run it helps me have a break from the names and lets me do something different, but it also means that sometimes we live in complete chaos. It's a great change from the day-to-day life of being Quirky and I find that it helps me create more ideas as I am away from the saw and the paint and I can think about ideas whilst going out on a tangent. 

 
What drives you to create?

My girls inspire me… wrong choice of words, they drive me in to the garage where I can block out all screams for just 10 minutes, and have some mum alone time. I can’t really call it peace and quiet, as I am sure my neighbours would love me to stop sawing and sanding. On a more serious note, the majority of my work comes from requests for my customers, generally at markets they come to me with what they would like and it goes from there. Occasionally I get time to create something for my girls (my guinea pigs) and then I test it out on the public.


What is coming up next?

At the moment I am playing it by ear. I have been Quirky for four years and in that time my family has grown from two little girls following me around to three little girls following me around. So this year I have had a little break but I do hope to be around a little more next year and do a few more Quirky creations.


All images have been provided by Natalie from Quirky Designs for Kids.

Find out more about how creators make their creations by catching up on previous materials and techniques interviews. If you are a creator who would like to share your materials and techniques, please leave a comment.

Thursday, 7 November 2013

Ikea-hack BENNO DVD Tower

I thought that I'd share with you Darren and Peter-from-The-Toy-Boys's effort at creating an Ikea-hack DVD tower.

Darren's DVD tower

Darren is a big fan of CDs and has a reasonable collection, plus a few DVDs. He already had one BENNO DVD tower and thought that an additional three would be a good storage space, but the wall that was available wasn't wide enough to fit four towers side-by-side.

Single BENNO DVD Tower
Borrowed from Ikea.

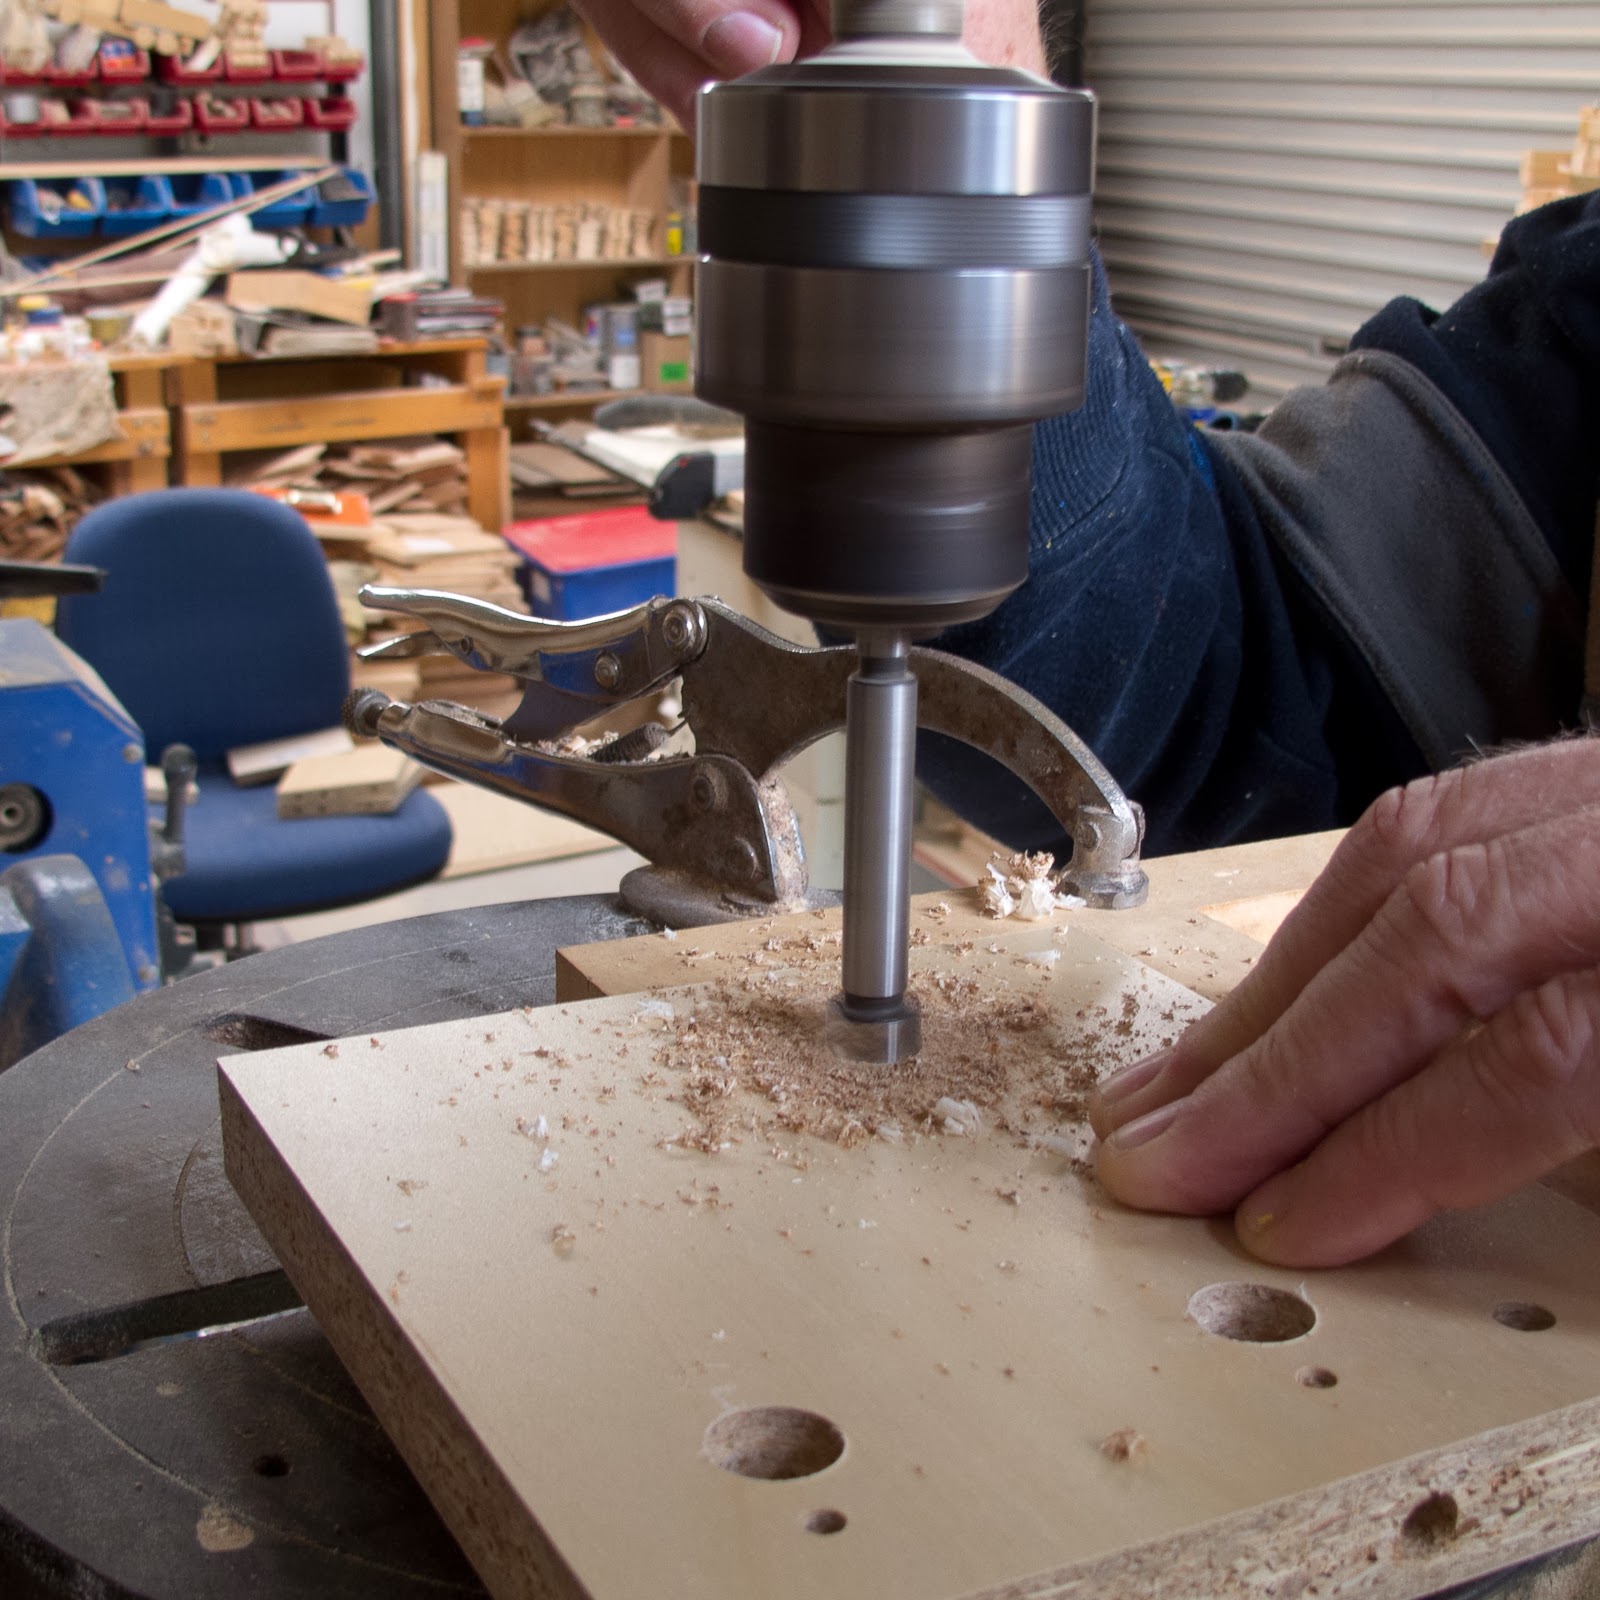
Solution? Take three DVD towers to your father's workshop and drill holes and guides into both sides each of the upright panels, so that the towers are all attached. This means that instead of having a double thickness of wood, there is only one upright panel for each tower (plus the two on the outside) and you can fit more on a wall. Not to mention it's more aesthetically pleasing.


They accomplished the four tower hack in an afternoon with three towers, plus some extra bolts and screws and a backing board, all sourced through Ikea. The spare upright panel was cut up to make the fixed shelves of the fourth tower.


They also salvaged some extra shelves to accommodate all the media.


Very clever.